Revell-Germany 1/72 Flower Class Corvette: HMCS Snowberry / USS
Saucy
|
|
Introduction
Back in 1978 I came across the first issue of a new magazine devoted
to the ship modeller, in this premiere issue of Scale Ship Modeler there
was a large scale scratchbuilt model of a Flower Class Corvette, and I
was hooked. Over the next few years they ran other articles on these intriguing
little ships and in some of them the basis was, amazingly, a 1/72 injected
kit by Matchbox. Sadly I was never able to find one of these kits, and
the memory faded away until Revell-Germany announced that they were re-releasing
the ex-Matchbox Flower. Perhaps I could get one after all.
At the time of writing this review I have had the kit for about two
months, and in fact have built many of the subassemblies ... I intend
to write a full article when I eventually complete it, but for now a more
detailed inbox than usual will help the potential builder.
The Kit
The kit arrived in a very sturdy mailing carton provided by Revell (or
so the logos all over it attest), opening this up revealed another box
containing the kit itself. When I pulled the kit box out of the mailing
box many of the kit stanchions disappeared into the carpet. Despite being
in sealed bags, and in another box, they had found their way out. The
only other fault was that many of the handrails for the ladders were broken.
The rest of the parts were in good.
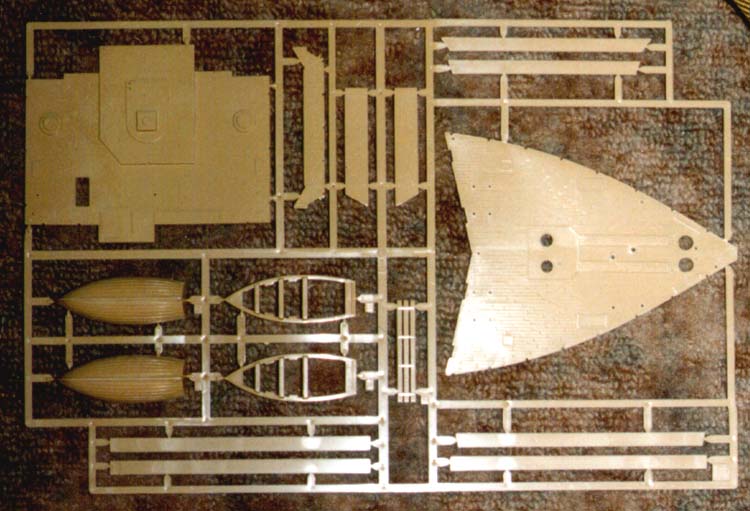
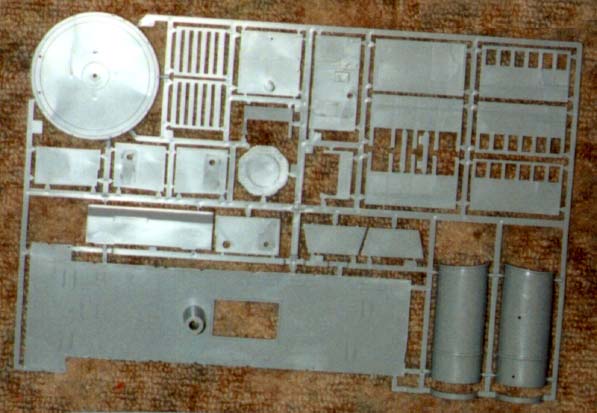
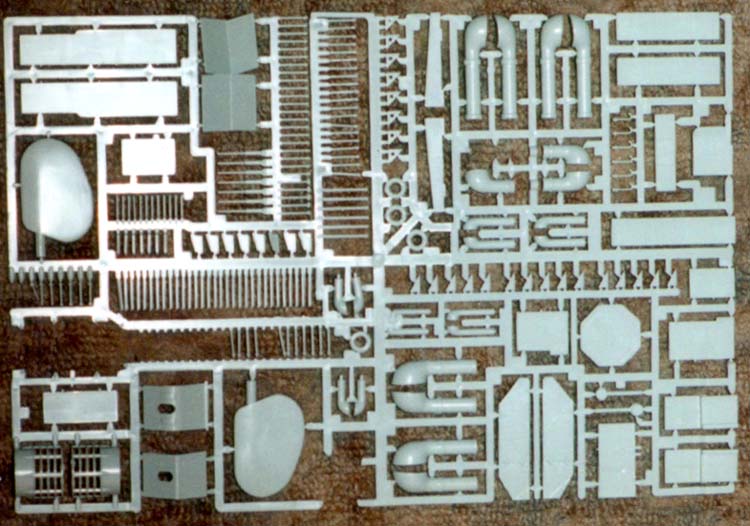
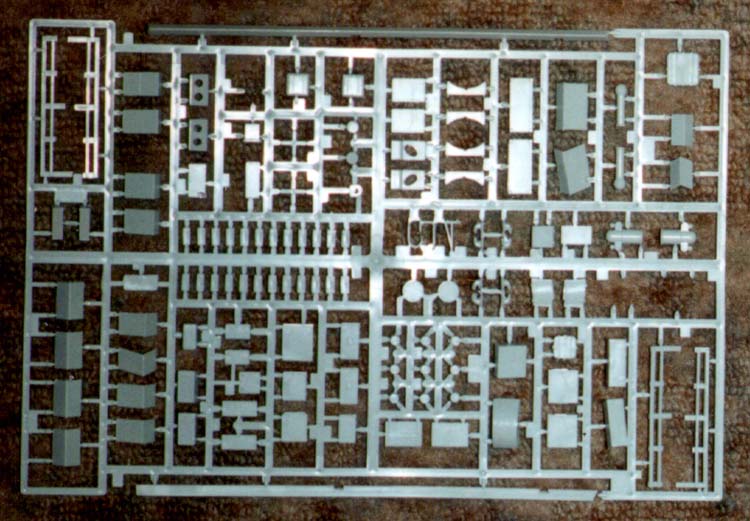
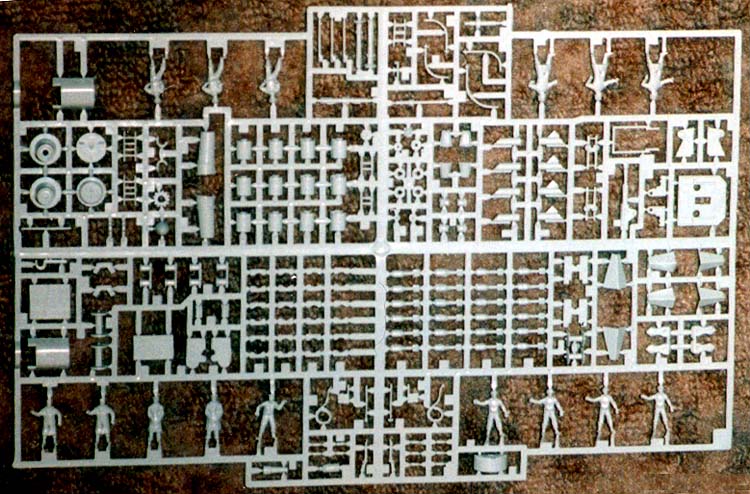
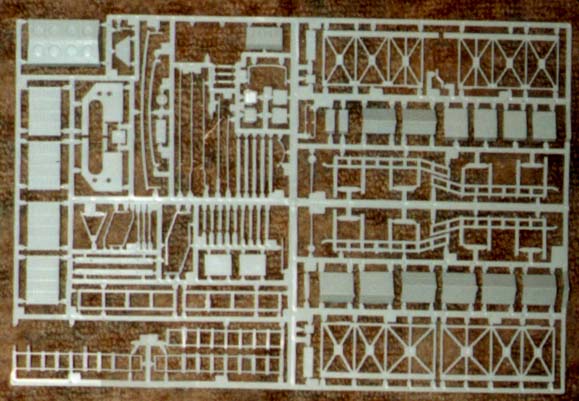
According to other reviews on the kit I have seen, the parts amount
to between 600-1000. There are four hull sections, two decks and nine
sprues. Add to this various items like line, chain, decals and signal
flags . . a lot no matter how you count them
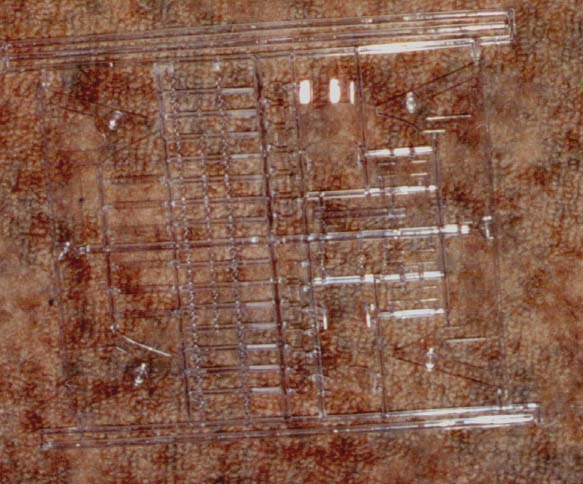
The kit provides a stand among the clear plastic parts. I recommend
building this first and then affixing it to some semi-permanent surface
to ease moving and assembly - I purchased a 36" pine shelf to serve
this purpose.
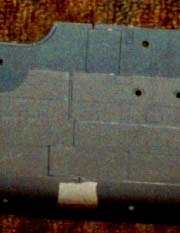
The Hull
The hull is broken down into four sections. These are designed to interlock
along the plating lines amidships. The detail on these, as on all the
kit parts, are exaggerated, with the hull plating being very overdone.
To join my sections I spent a few days cleaning up the mating surfaces
to be sure of the best possible join. I then glued each section in turn.
One day the bow segments, the next the stern and the third I joined them
together using inexpensive butterfly paper clamps from the stationary
store to hold them in place. When I joined the two halves together I also
used a screw clamp to hold the tops together to prevent the halves from
sagging. The hull is further strengthened by six athwartship braces. These
seemed flimsy to me, so I strengthened them by gluing section from sprue
D to them.
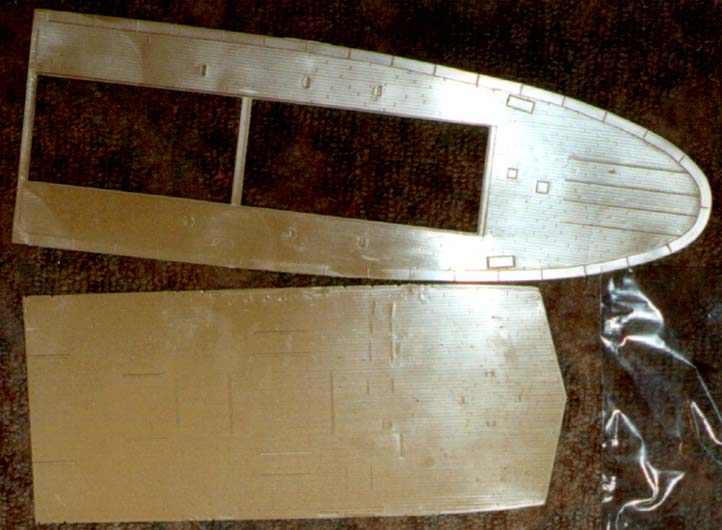
The decks are given in three sections: bow, midships and stern. The
bow section goes as far back as the breakwater, the main deck from there
to the focsle break, and the stern, well it covers the aft section. I
don't know if it was intentional, but these are perfect for allowing interior
access for a radio controlled model (which mine will be). Sadly the decks
are covered in a totally spurious moulded on planking over their entire
surface – corvettes had mostly metal decks with some wooden planked
areas at the bow and stern.
Superstructure
The superstructure consists of the engine room casing (big section on
the stern deck), funnel/vent platform, galley and bridge/wheelhouse. The
first three all go together easily as per instructions, the bridge requires
some care as my sample suffered from a warped platform which boiling water
only partially eliminated.
To continue on about the upper bridge. Solid rails are provided with
the rails themselves moulded on the interior side, however the exterior
is completely flat and not representing the fabric of the original. Other
bridge details are pelorus, binnacle, voice pipes, signal lamps, 20mm
Oerlikons, ready use lockers and flag lockers at the rear. Again, all
of these are overdone and can stand accurizing or replacement. In my case
I originally built the bridge OOB. . and then decided I had to do it better,
so I am now rebuilding many of the details myself.
At the rear of the bridge can be found the type 271 radar. This is given
with two styles of lantern to choose from – the round one or the
octagon. The latter is lacking every other upright brace and the clear
plastic for the windows are too small to fit against it - I replaced these
with individual panes. The radar itself is in two parts and is visible
through the glass.
Armament
The kit provides all of the various weapons carried on a corvette, from
4" gun down to a .303" Lee Enfield. That is about all that can
be said in their favour as the Lee Enfield is by far the best of them
all.
Starting with the 4" gun, you are given a choice of two styles
of gunshield, both quite thick and with view ports moulded shut. The gun
itself has just the barrel, cylinder on top and two very out of scale
supports. This goes on a solid platform that then attaches to the bottom
of the gunshield. The completed gun goes on the fore gun platform. This
has two rings moulded around the outer edges in which ready-use shells
are to be placed. Otherwise the platform is very bare, to improve the
appearance of this platform I added .010 x .020 strips in a typical none-slip
pattern seen in photographs.
On the bridge wings are two, single 20mm Oerlikon cannons, or rather
what I assume are supposed to be Oerlikons. I saw no easy way to improve
these, therefore they are best discarded and spares robbed from the Airfix
Air-Sea Rescue Launch substituted in their place. Another detail lacking
are the platforms with various height levels for the gunner to stand on.
In their place the guns are mounted direct to the deck.
In the bandstand on the engine room casing is the 2pdr anti-aircraft
gun. As provided you are given a square sectioned gun with a round barrel
and something projecting out of the top - perhaps a Bofors was in mind.
Despite its rather barren appearance it can be made into something half
decent with a little work. Remove the top piece, add platforms for the
gunners, diagonal supports, training and elevating wheels, reshape the
vertical supports, add an ammo bin and finally replacing the gunshield
will improve it immensely.
The bandstand can also benefit from rework. The splinter shield is too
thick and also slopes inwards, remove this and replace with sheet styrene
(and add another foot tread pattern if desired).
Aft of the bandstand are two twin Lewis machine guns - the same standard
applies to them as to the rest of the guns. Perhaps a WW1 spares box will
help here, as well as new splinter shields.
The depthcharge racks are a prominent part of the kit and as with the
rest are overly thick. Either use them as is or replace them is all I
can offer here. ... I used them. The DC mortars are basic, but acceptable.
The depth charges themselves are moulded in two halves, and as there are
lots and lots of them it takes awhile to get the seams fixed. Other than
that there are no problems in the DC section.
The final weapon is the hedgehog launcher on the bow. This is a very
basic representation with just a box, 24 bombs and a shield provided.
The real thing has lots of extras to it, and these can either be added
to the kit launcher as representational, or else the kit launcher tossed
aside while keeping the bombs and a new one scratchbuilt. I'm doing the
latter.
Details
One thing that is readily apparent on a corvette are the prominent vents
around the funnel and engine room casing. These have a very thick section
to them and can stand considerable thinning down. If this is done they
start to look very acceptable. Some of the smaller vents can be drilled
out as well.
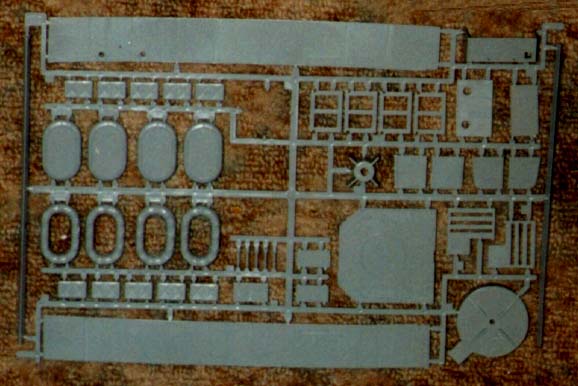
Scattered all over the ship are various boxes for ready use ammunition,
food stuffs, etc. In almost all cases these are in three pieces and care
should be taken to ensure they line up correctly. The interior of the
bottoms also need to be cleaned out a tad to allow them to sit properly
in their allotted spaces on deck.
Two 16' dingys are supplied and when built are nice, but can use more
details added to them.
There are four Carley floats. Care must be taken in aligning the halves
so that the ropes line up properly.
The Rest
The rest of the kit parts are more or less in the same boat (HA), basic
representations that are somewhat overly thick. However with a little
work they can be made quite acceptable. In fact I originally planned to
just build this OOB, but realistically I decided I don't know when I would
have the time to do another, so I removed all my previous work and am
redoing most of the details.
A nice touch are 15 crewmen in various poses. These will liven up the
ship when added.
There are very comprehensive instructions that include 178 steps within
its 48 pages. There are drawings of all steps as well as the patterns
carried by the two options provided for in this release - Snowberry and
Saucy - HMS Bluebell is lacking in the instructions and decals, but the
parts to build her are still included.
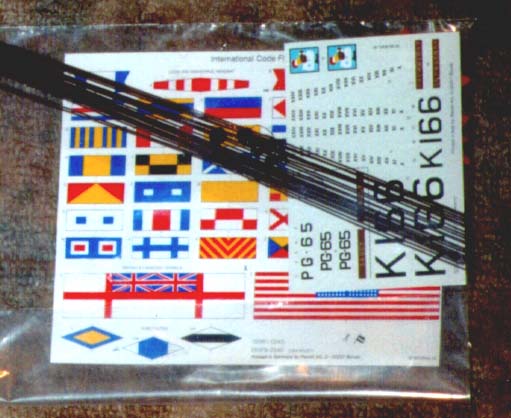
 Decals
are provided for Snowberry and Saucy in the form of pennant numbers, nameplates,
draft markings, and in Snowberry's case - gunshield artwork. However this
last is based on the old Ensign Flower Class volume and was done without
a clear photo of the actual design. In more recent years this has come
to light, and I have produced an illustration of it (seen at right), which
I plan to market as an ALPs decal. perhaps with other gunshield artwork
as further releases. Decals
are provided for Snowberry and Saucy in the form of pennant numbers, nameplates,
draft markings, and in Snowberry's case - gunshield artwork. However this
last is based on the old Ensign Flower Class volume and was done without
a clear photo of the actual design. In more recent years this has come
to light, and I have produced an illustration of it (seen at right), which
I plan to market as an ALPs decal. perhaps with other gunshield artwork
as further releases.
Conclusion
Despite the thick and simplified details this is THE kit for anyone
interested in a Flower Class corvette. I can honestly say I am having
more fun buildng this model than I have had on almost any other kit to
date. If built OOB it will look impressive just because of the amount
of stuff on it. However a little work will really improve on it. But for
those who really want to go to town on the kit, the ultimate Flower needs
the GLS detail kits. If one uses all of these kits, by the time you are
done all that is left of the original is the hull, funnel and some vents
!!!!!!! For anyone contemplating upgrading the Revell Flower, Kerry Jang
does a comparison between the GLS
and Sirmar detail sets elsewhere in this issue
My kit was purchased from Roll Models.
|